 Hardwood and engineered floors add beauty and depth to your home. With a little planning and the right products, you can make sure they look as good as they can for the life of your home. Here are 6 tips to make your floors shine:
Tip #1: Acclimate Before Installation
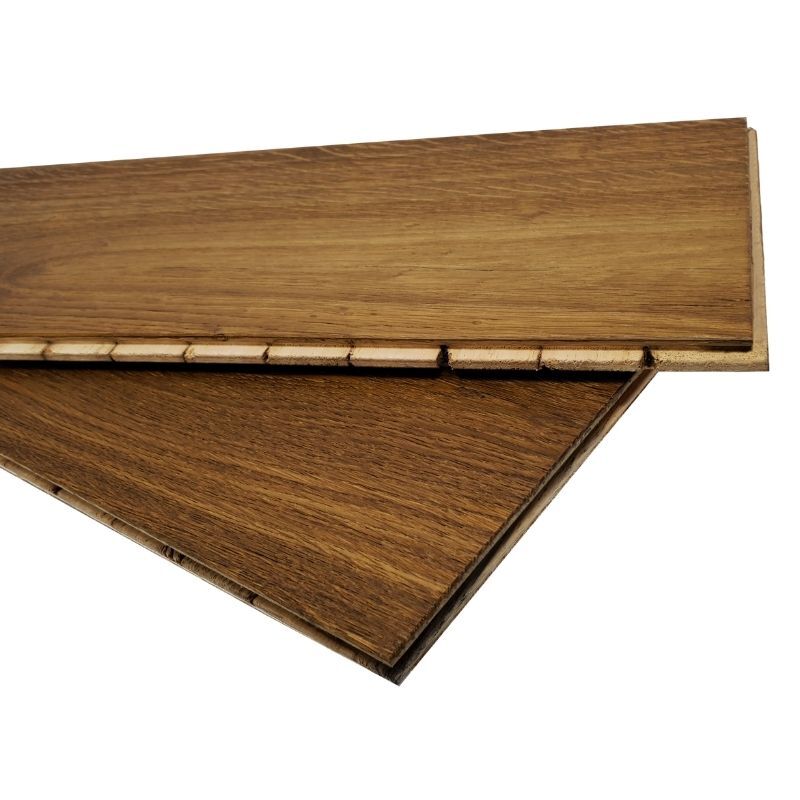
We know that you want to keep your hardwood or engineered floors looking great for years to come. So, it is important to start the maintenance of the floors before installation. Wood is alive, and as such, can breathe in and exhale moisture.
The conditions in the warehouse where your wood was stored will almost certainly not be air-conditioned. Because of this, the moisture content will be much different than your house. So it is crucial to allow the wood to acclimate to its new home before installation.
The wood has a mind of its own. If you aren’t careful, it will acclimate after its installation. If this happens, you can get cupping or gaps that are very difficult, even impossible, to fix. This can be costly and tiresome. So, save yourself the heartache and bankruptcy and ensure you acclimate your wood. As the saying goes, an ounce of prevention can prevent a pound of cure. We have an article here that goes into more detail about acclimation.
Tip #2: Hire a Qualified Contractor
This is an important step. If you didn’t already know, sanding and finishing floors are difficult skills to master. While flooring sanders are available for rent, this is not a job you should take lightly. If you don’t take time to educate yourself, you may end up paying someone to fix your mistakes. So, to avoid a messy DIY situation, it is best to hire an expert.
Like acclimation, hiring a good contractor to install your floors can make maintaining it much easier. So, when vetting contractors there are a number of things to consider:
- Does the contractor have experience in the process you want fulfilled? Different products require different processes to get the desired result. Make sure your contractor has experience doing what you are hiring them for.
- Will they take their time? It can be tempting to get the person that gives you the quickest time frame to completion. Stains and finishes are chemical processes that take time to complete. Make sure they are going to do a good job, not just a quick one.
- Are they Certified National Wood Flooring Association Installers (www.nwfa.org)? While not required to be a skilled contractor, flooring contractors certified by NWFA have proven that they have the skills to do a great job. Certified installers, sanders, and finishers must go through rigorous training and have proven skills.
Tip #3: Choose the Right Finish
The type of finish you use can allow you to have years and years of enjoyment with your new hardwood floors. But first, you will need to decide what base you want for your finish. Below are the two types of finishes to choose from:
- Oil-based finishes are generally less expensive than water-based products. But, oil-based finishes have a much higher Volatile Organic Compounds (VOC) content. This causes a much stronger odor and may have restrictions on use depending on your State.
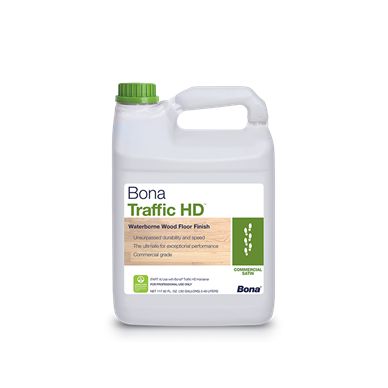
- Water-based finishes cost a little more than oil-based ones. Yet, water-based finishes have a much lower VOC and shorter curing time than oil-based. A 2-component water-based finish will also be harder than an oil-based one. If you have pets, a 2-component water-based product like Bona Traffic HD or Loba Supra 2K will provide the most time between maintenance coats. We will address maintenance coats a little later.
Tip #4: Keep Cleaning Simple
There are many products out there that claim to provide the best cleaning for your floor. Most are pretty good, but there are some you should avoid. It is never a good idea to steam clean your hardwood or engineered floor. This can actually damage the floor and will lead to premature wear.
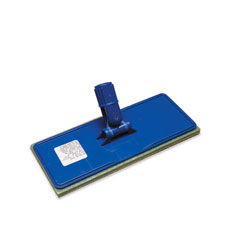
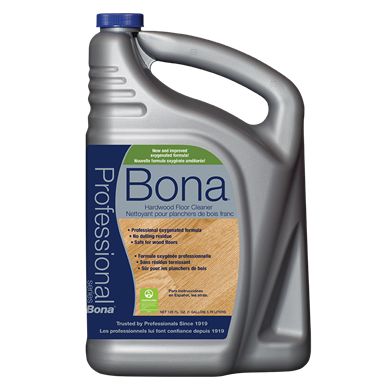
Instead, opt for a specially formulated hardwood floor cleaner. This tip follows the Keep it Simple doctrine. Cleaners like the Bona Wood Floor Cleaner or Loba Wood Floor Cleaner are great choices! You can buy it as ready-to-use or in a concentrated formula. You can use these cleaners with microfiber pads. We offer a range of mop kits here, but any microfiber kit will do.
Tip #5: Apply a Maintenance Coat
Just like your knees, your finish will wear down over time. Unlike your knees, you can easily apply a new single layer of finish to build it back up. But, it is wise to hire a professional to this.
A maintenance coat is much easier than a full sand and finish, and it can add years to your floors. While this won’t fix major scratches on the floor, it will do wonders on all those little scuffs and scratches.
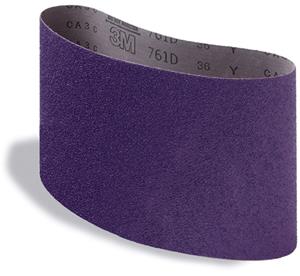
Basically, your contractor will lightly sand your floor with what is called a screen. Think of it as the same thing you do before you paint a wall. You would not want to take all the paint off the wall. You want to create a surface for the new finish to adhere to the floor evenly. After the floor is screened, your contractor will apply a single coat of finish to the floor. It is important to know the type of finish used because oil and water do not mix. You must use the same type of finish for the best results.
Tip #6: Keep Your Environment Stable
If you are like most people, you turn off the air conditioner when you go out of town. Why should you pay the power bill if you aren’t there to enjoy it? The problem is that your floor already likes the environment it is in. If you turn off the air conditioner, the humidity in your house can jump to 80% when it is usually at 50%. This makes your floor rebel and cause cupping and damage to the finish. The last thing you want when you get home from your trip to Europe is to come home to damaged floors.
A preventative measure is to turn up the thermostat a few degrees before leaving for any trips. This will keep both your wallet and your floors happy in the long run. Your environment also includes your crawlspace. If you have a moisture problem under your house, you will have a problem with your floors. It is wise to get a moisture reading before installation. This allows you to get them within the guidelines before you install your floor.
A great tool to use for this is a moisture meter. Your contractor should have some of their own. But, if you want to continually watch the moisture levels of the wood and the subfloor, invest in a Fidbox Electronic Monitoring System. The Fidbox takes a moisture meter installed in the floor and connects it to your smartphone via an app. The Fidbox then monitors the environment of your wood floors and alerts you if anything is wrong.


